How to Connect
Your Shopify Store
Create Posts and Ads, or up to a month's worth of Posts directly from your connected store.
What You Need To Have
- A Shopify store (or Shopify Plus)
- Your Shopify store domain (e.g., your-store.myshopify.com)
- App Store install: Store contact email
- In-app connect: A Get Shouting account. You must be logged in. No email matching required.
Method 1: Connect from the Shopify App Store
What to do before installing
| Your situation | What to do |
|---|---|
| New user (no Get Shouting account yet) | Ensure you have the correct Shopify store contact email (Settings → Store Details → Store Contact Email) matches the email you will use to create your Get Shouting account. We use your Shopify store contact email to link your store to your Get Shouting account. |
| Existing Get Shouting user | Sign in to Get Shouting first, then install from Shopify using the steps below. |
| Agency (Multiple Brands) | Sign in to Get Shouting first. Your active session bypasses email matching entirely. No need to change the Shopify store contact email. You will be able to pick which Brand to connect your store to. |
Step 1: Find Get Shouting in the Shopify App Store
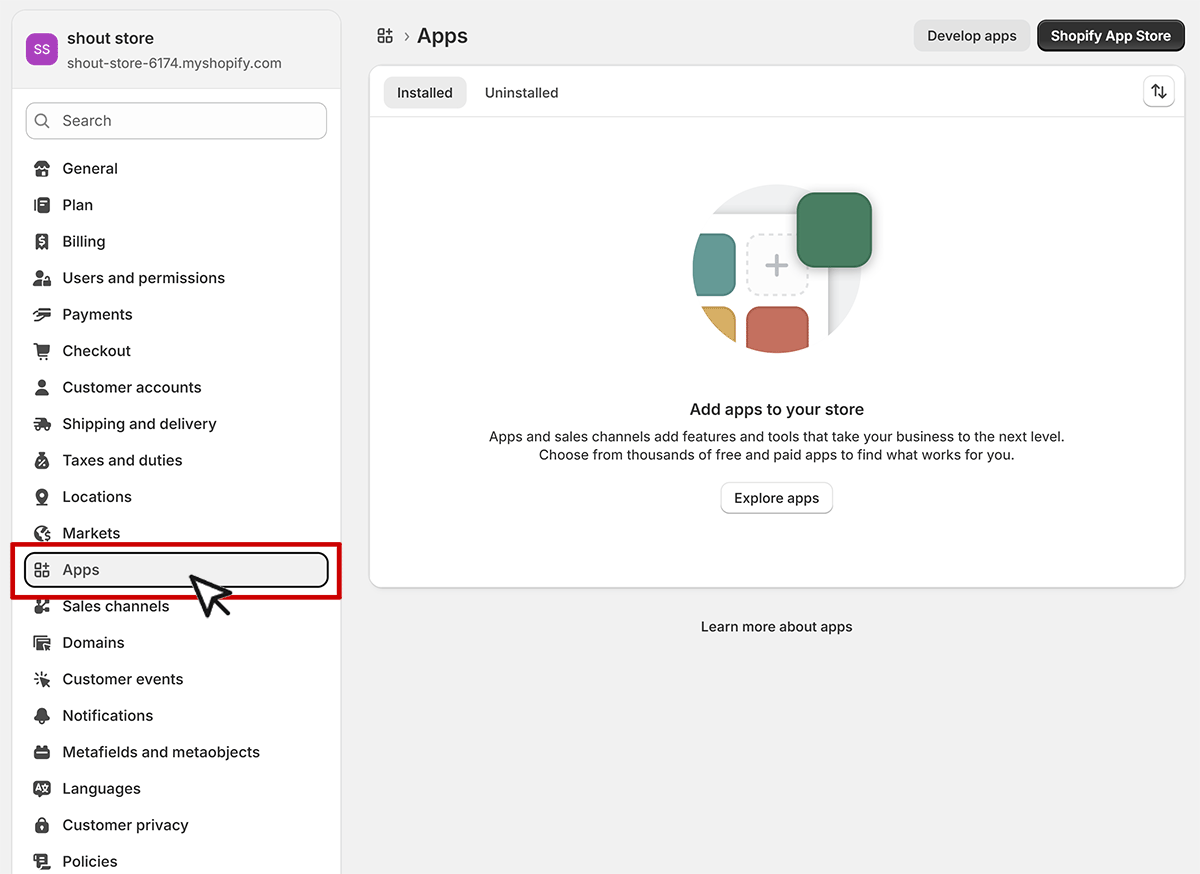
- Log in to your Shopify Admin
- Go to Apps in the left navigation menu
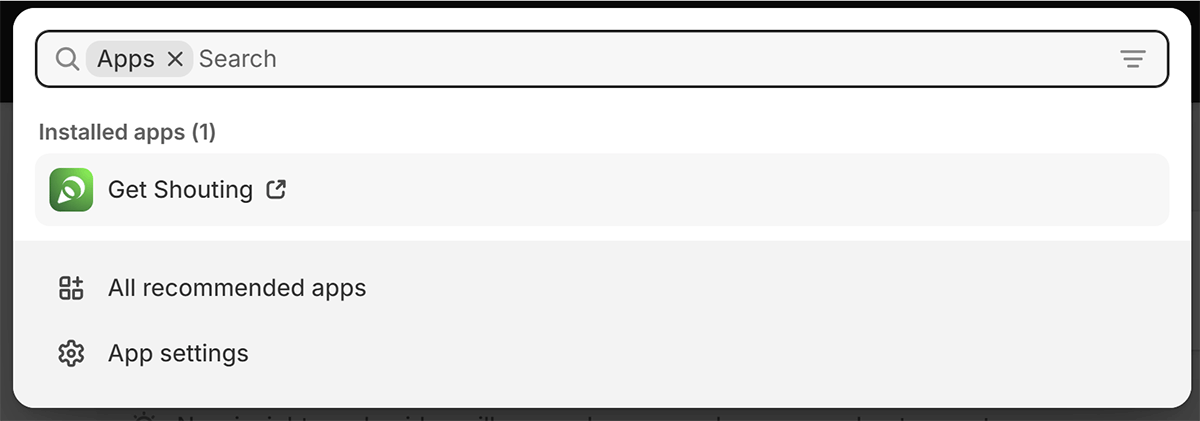
- Search for "Get Shouting"
- Click on the Get Shouting app listing
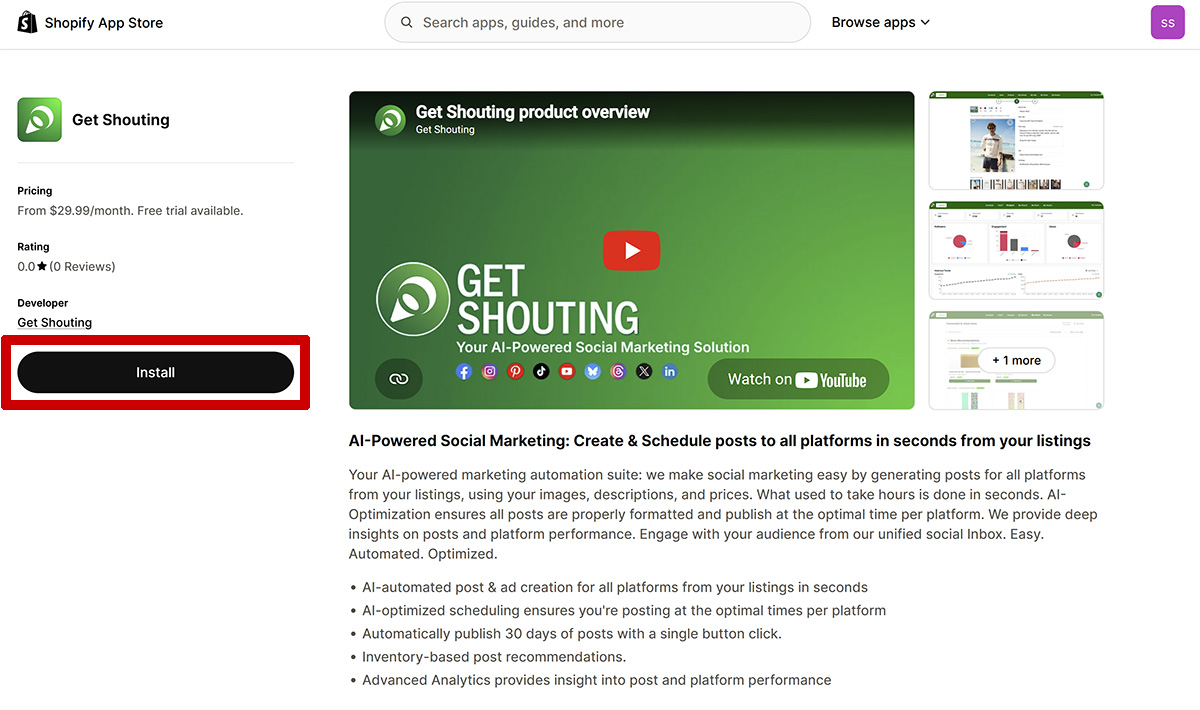
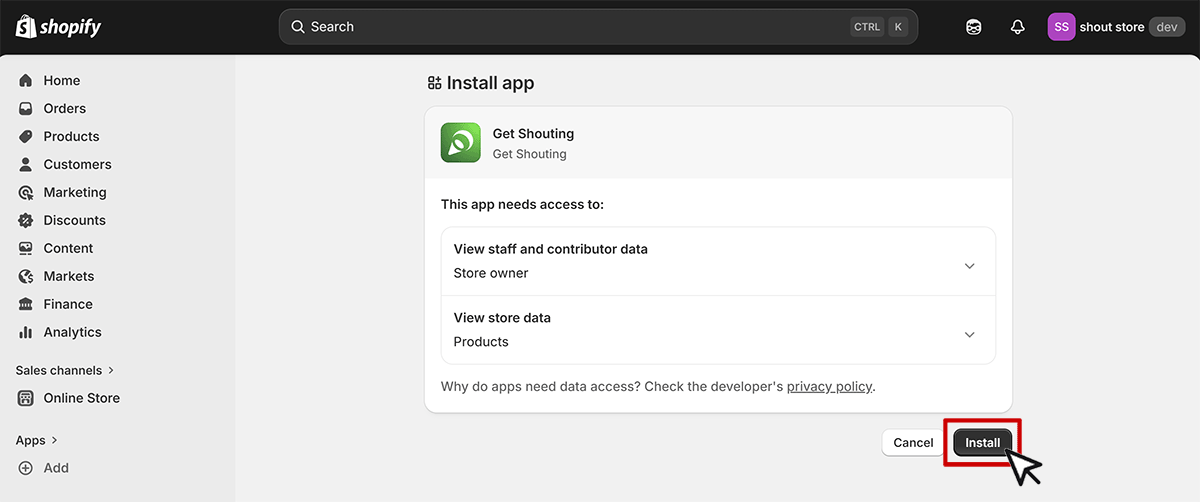
Step 2: Install the App
- Review the permissions Get Shouting requests
- On the Get Shouting app page, click "Install"
Depending on which Shopify dashboard you're logged into, the listing will look slightly different.
Step 3: Account Routing (Automatic)
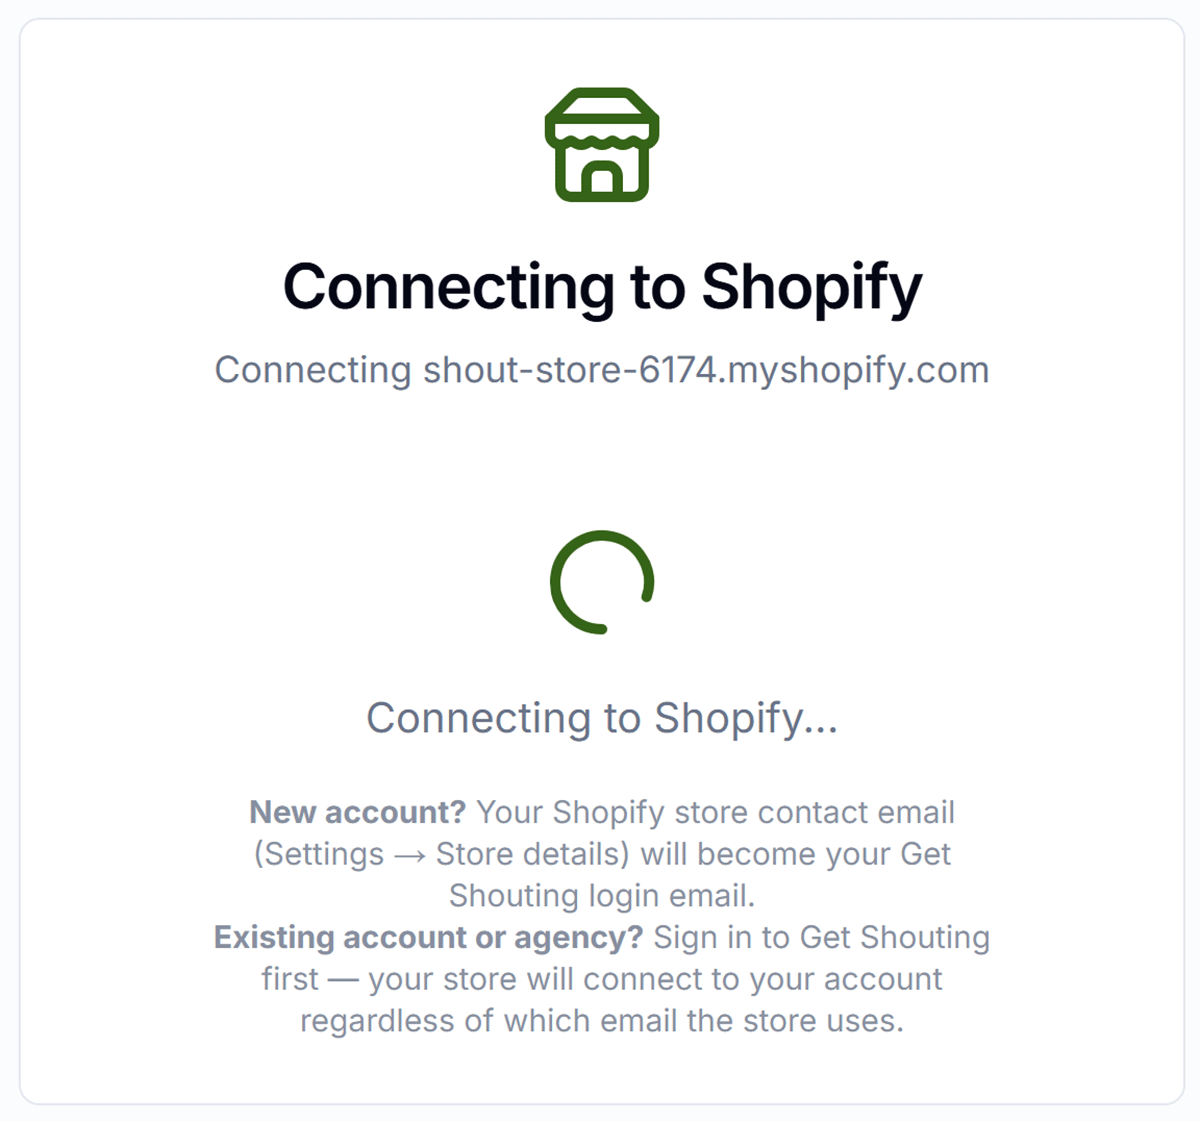
Shopify will redirect you to Get Shouting's install page. You'll see a brief loading screen: "Connecting to Shopify..." then Shopify's authorization page.
Agencies (Multiple Brands)
After you install the app in Shopify, Get Shouting detects your session and routes you automatically.
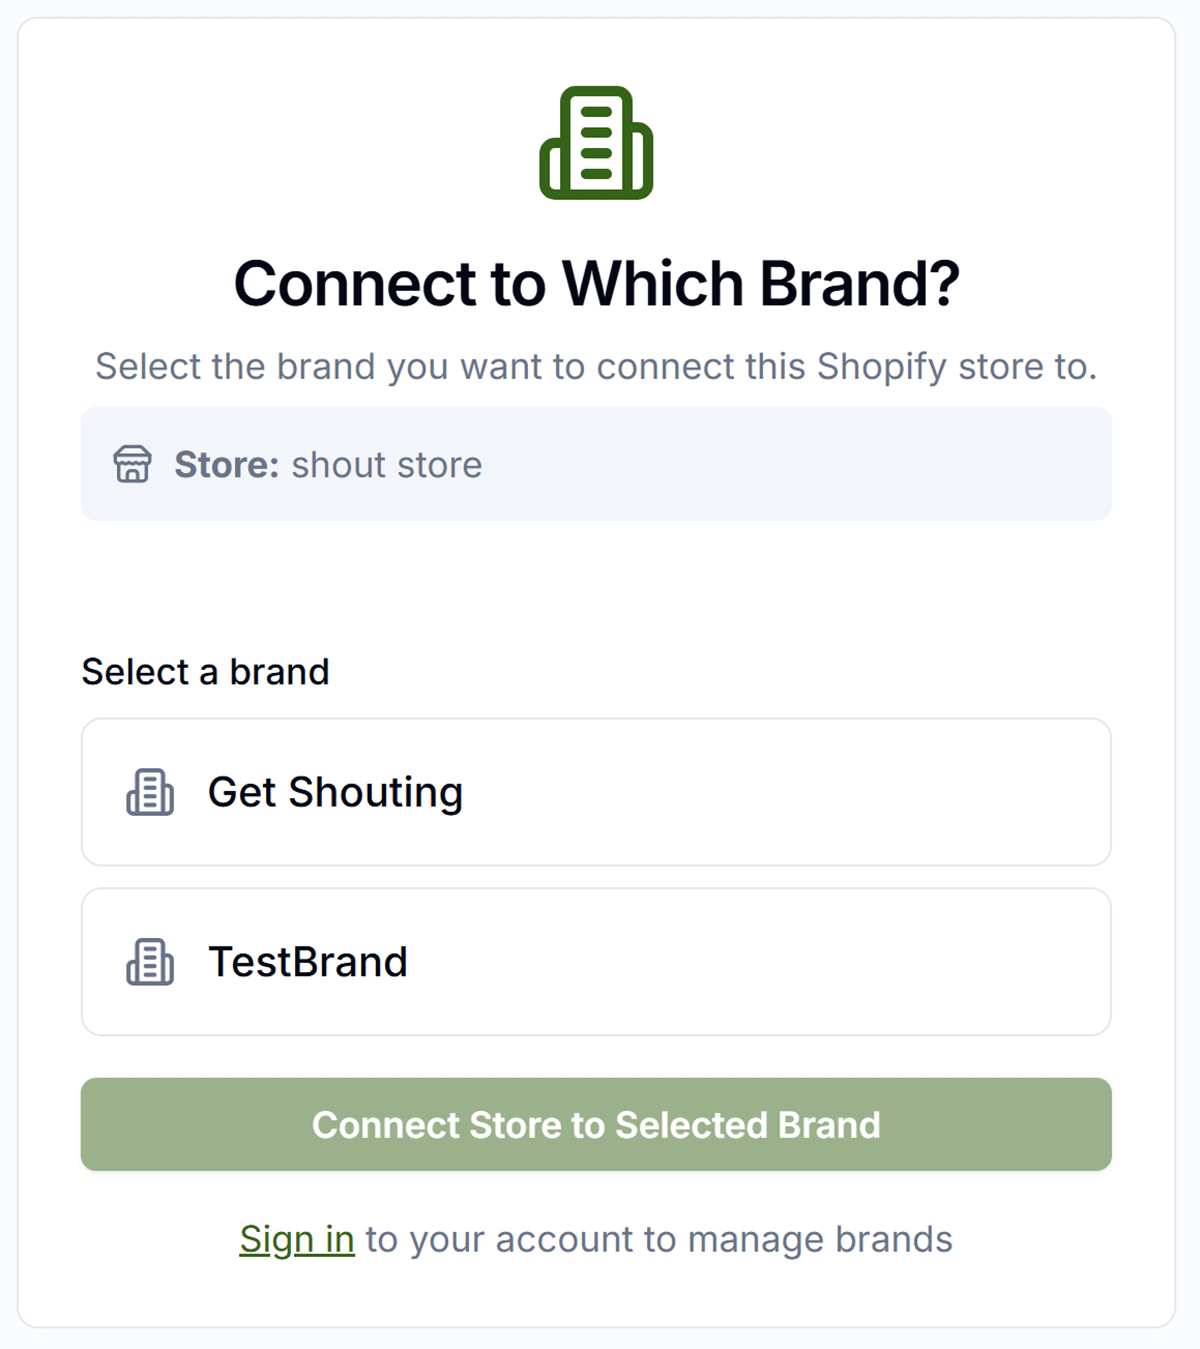
- Multiple brands: A "Connect to Which Brand?" page appears — select the brand, click "Connect Store to Selected Brand"
- No brands yet: A "Complete Your Installation" form appears — enter a Brand Name and click "Connect Store to My Account"
If you are NOT signed in to Get Shouting and do not have an account yet
- No account found: "Complete Your Installation" form appears — fill in Email (must match Shopify store contact), Password, and Brand Name, then click "Create Account & Connect Store"
Method 2: Connect from Within Get Shouting
Use this when you already have a Get Shouting account. No email matching required — you are logged in, so we connect the store to your current brand.
Step 1: Log In to Get Shouting
- Go to getshouting.app and log in.
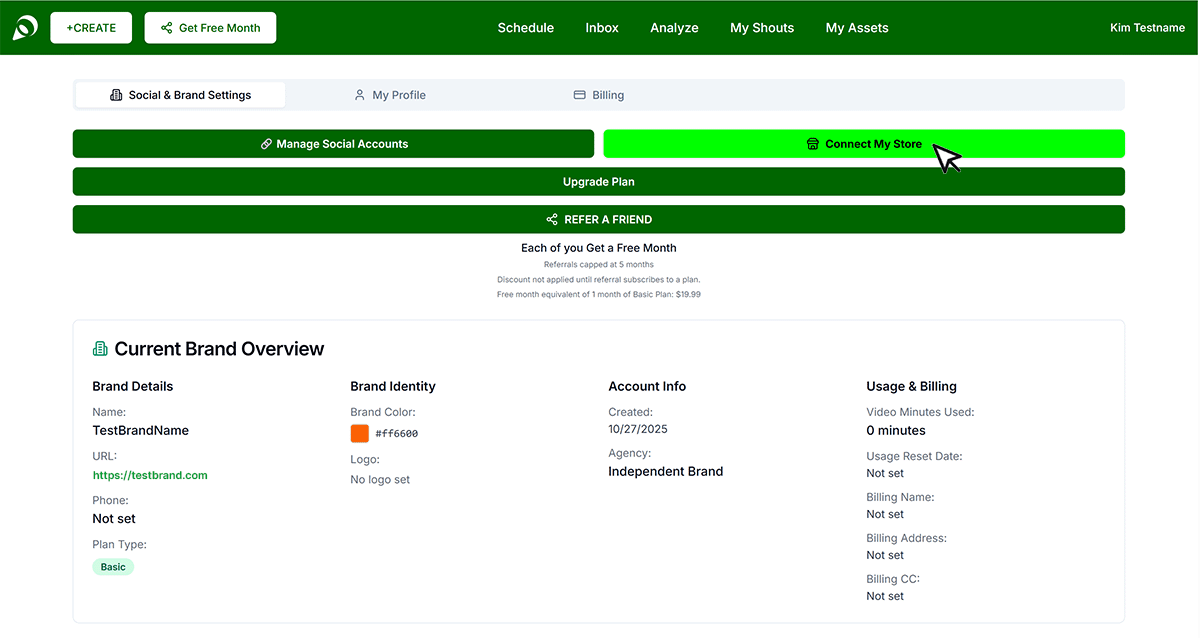
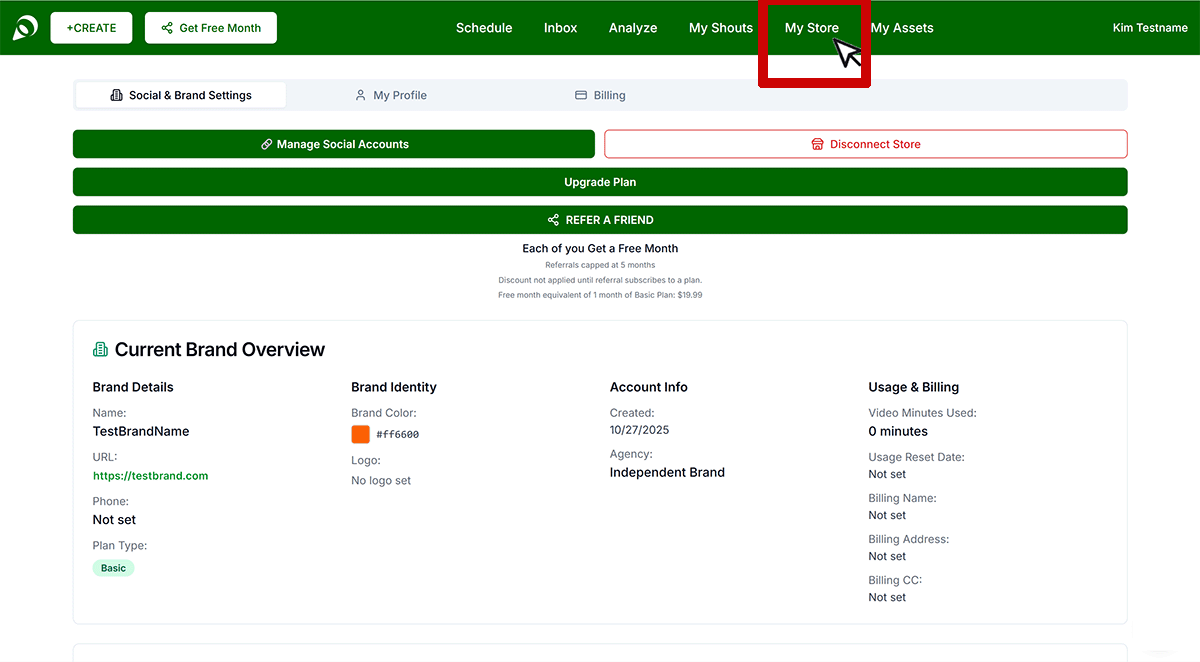
Step 2: Open Account Settings
- Click on your Display Name in the top right to open your Account Settings
Step 3: Initiate Store Connection
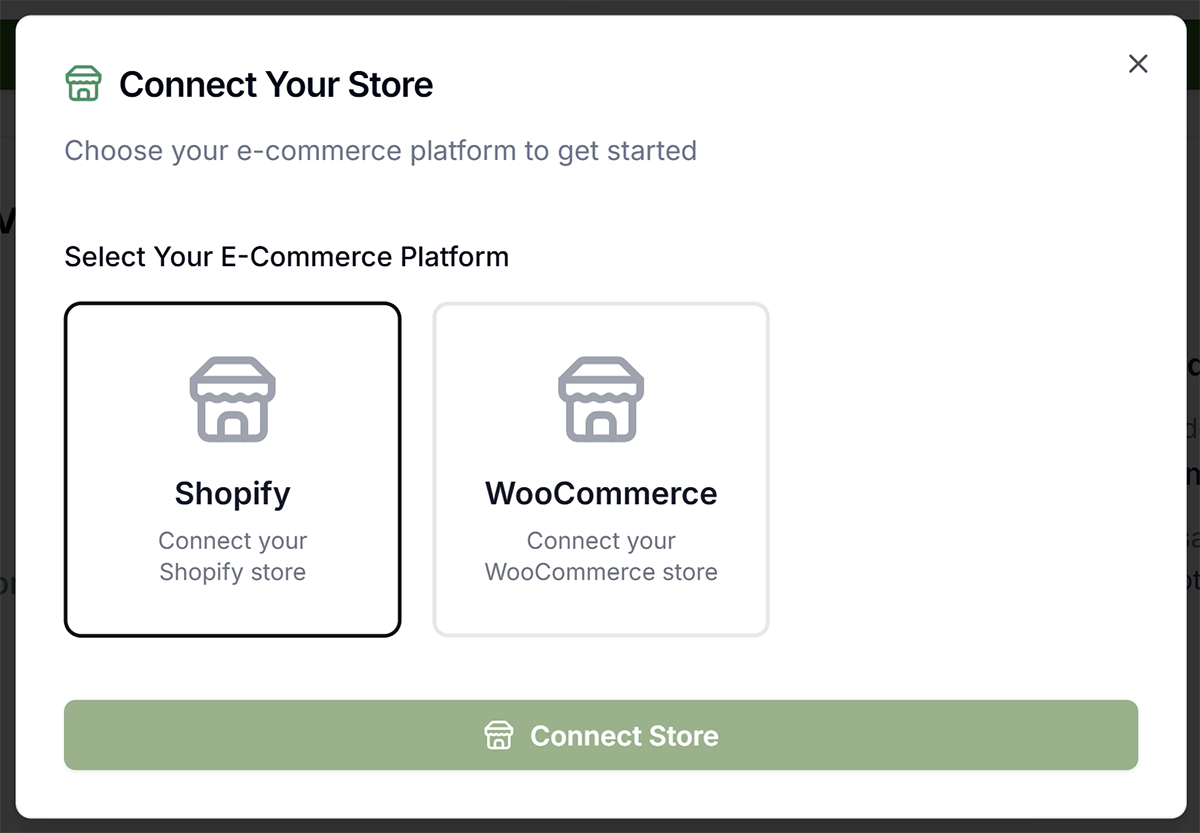
- Click the "Connect Store" button
- In the Connect Store dialog, click Shopify
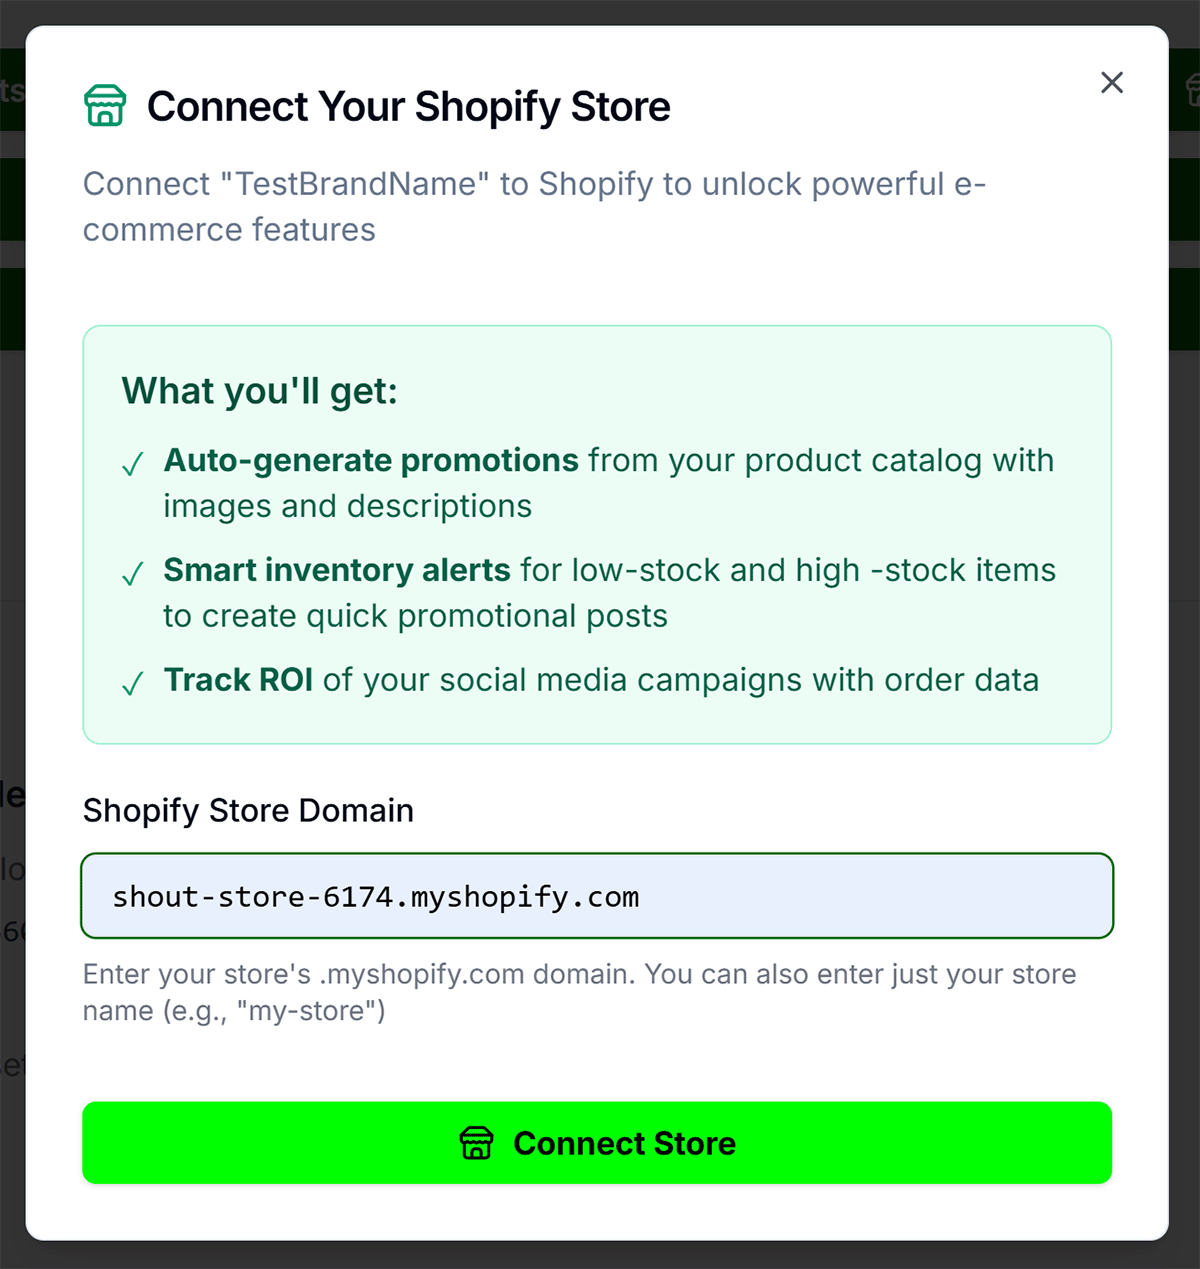
Step 4: Enter Your Shopify Store Domain
Enter your store domain in one of these formats:
- Full domain: your-store.myshopify.com
- Store name only: your-store (the app will append .myshopify.com)
To find your store domain: Shopify admin URL or Settings → Domains. Click "Connect" or "Connect Store".
Step 5: Authorize on Shopify
You'll be redirected to Shopify's authorization page. Log in if prompted, review permissions, click "Install" or "Allow".
Step 6: Return to Get Shouting
After authorization, Shopify redirects you back. The connection completes automatically. Your Store tab should show your Shopify store as connected with status "Active".
Verify Your Connection
- Go to the Store page in Get Shouting
- Products sync automatically on connect; click "Sync Now" to refresh
- Your Shopify products should appear in the catalog
Troubleshooting
"Invalid store format"
Use format your-store.myshopify.com. No https:// or paths.
"Failed to complete installation" / email mismatch
This only applies if you were not signed in during install. The email on the form must match the Shopify store contact email (Settings → Store details). To bypass this: sign in to Get Shouting before installing from Shopify.
Store connected to wrong account or brand
If you were signed in when installing, the store connected to your Get Shouting account. If you were not signed in, we matched by Shopify store contact email. To reconnect to the correct account or brand, sign in first and reinstall from Shopify.
Agency-managed store — emails don't match
Sign in to Get Shouting before installing from Shopify. Once signed in, your active session bypasses email matching entirely — no need to change the Shopify store contact email.
Endless "Connecting to Shopify..." spinner
The OAuth session expires after 10 minutes. Close the tab, return to the Shopify App Store, and try again. If the issue persists, contact support.
Disconnecting
Go to Account → Store tab, find your connected Shopify store, click "Disconnect". All registered Get Shouting webhooks are immediately deleted from your Shopify store on disconnect, so no further events will be sent. Your synced product and contact data is retained in Get Shouting but marked inactive. You may also uninstall from Shopify admin: Settings → Apps and sales channels → Get Shouting → Uninstall (this also triggers an automatic disconnect).
Email & SMS CRM Journeys (Shopify)
Once your Shopify store is connected and CRM is enabled, Get Shouting automatically listens for order, fulfillment, and checkout events to power automated journeys — including Abandoned Cart, First Purchase, Order Placed, and Order Fulfilled.
Operator note — Protected Customer Data (PCD) Level 2
Order, fulfillment, and checkout webhooks contain protected customer data. To receive these events, the app must be approved for PCD Level 2 in the Shopify Partner Dashboard → App Setup → Protected customer data. Without approval, these webhook topics return 403 and CRM order/cart journeys will not fire. Once approved, webhooks register automatically on the next daily health check.